

As a web developer, one of my most crucial responsibilities is to create websites that not only look great but also provide exceptional user experiences. In this pursuit, I’ve come across various tools and services that aid in understanding user behavior and optimizing website performance. One such powerful tool that has significantly enriched my development process is Microsoft Clarity. In this article, I’ll share my experiences and insights into the benefits of Microsoft Clarity and guide you through setting it up with WordPress.
Understanding User Behavior with Microsoft Clarity
Microsoft Clarity is a web analytics service that offers a wealth of features to help developers and website owners gain deep insights into how users interact with their websites. Here’s why I believe it’s a game-changer:
1. Session Replays: One of the standout features of Clarity is the ability to replay user sessions. It’s like having a virtual user walk through your website, and you get to see precisely what they did – where they clicked, how they scrolled, and where they dropped off. This invaluable visual feedback allows you to identify pain points and usability issues.
2. Heatmaps: Clarity generates heatmaps that highlight areas of your website where users are most active. These heatmaps can reveal which elements on your site attract the most attention and which ones are being ignored. This information is gold when it comes to optimizing your site’s layout and content placement.
3. User Behavior Tracking: With Clarity, you can track user interactions such as clicks, mouse movements, and scrolling behavior. This data helps you understand how users engage with specific elements on your site, enabling you to make data-driven decisions for improvements.
Setting Up Microsoft Clarity with WordPress
Now, let’s get into the practical steps of setting up Microsoft Clarity with your WordPress website:
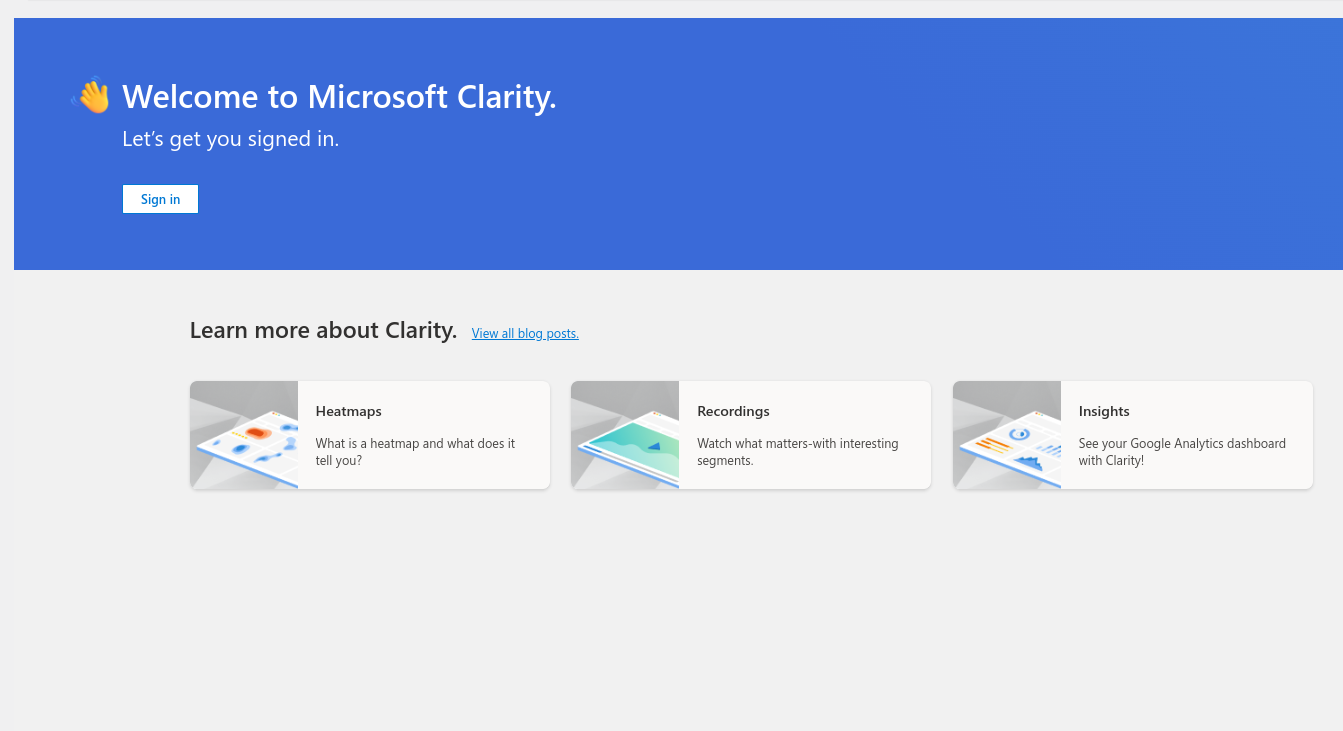
1. Create a Microsoft Clarity Account:
- If you don’t already have one, sign up for a Microsoft Clarity account on their website.
2. Generate Your Tracking Code:
- Once logged in, create a new project for your WordPress website.
- Microsoft Clarity will generate a tracking code snippet unique to your project.
3. Install a Plugin:
- In WordPress, go to your Dashboard and navigate to the Plugins section.
- Click “Add New,” and in the search bar, type “Microsoft Clarity.”
- Find the “Microsoft Clarity” plugin by Microsoft Corporation and click “Install Now.”

- After installation, activate the plugin.
This will enable you to seamlessly integrate Microsoft Clarity with your WordPress website, allowing you to start gathering valuable user behavior data.
4. Configure the Microsoft Clarity Plugin:
On the left side of your WordPress dashboard, locate and click on the “Clarity” menu item under “Settings.”
Once you’re on the Clarity screen, you’ll need to connect your Microsoft Clarity account. To do this:
- Click on the “Sign In” button, and a pop-up window will appear prompting you to sign in to your Microsoft Clarity account.
- Enter your Microsoft Clarity credentials and sign in.
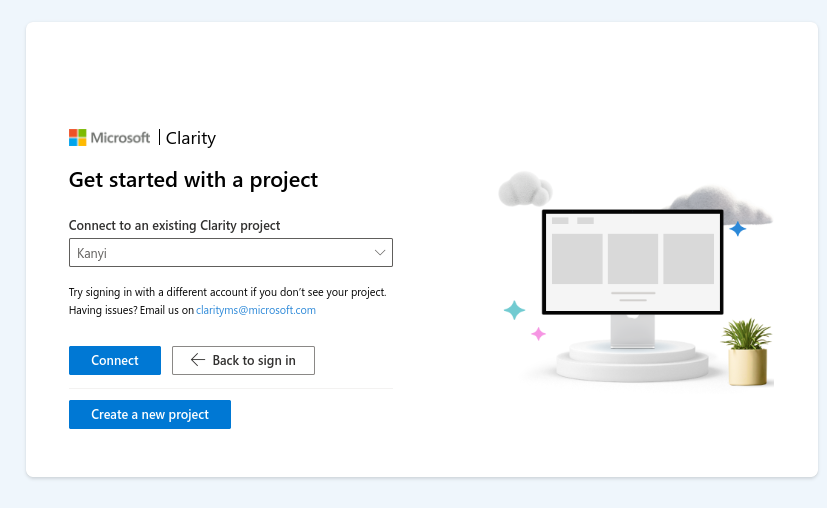
After signing in, users will have the option to select their current projects or create a new one. This will establish the connection between the plugin and your Microsoft Clarity account, enabling you to seamlessly integrate Clarity with your WordPress website. With the integration complete, you can start collecting valuable user behavior data to enhance your site’s performance and user experience.
Leveraging Microsoft Clarity for Continuous Improvement
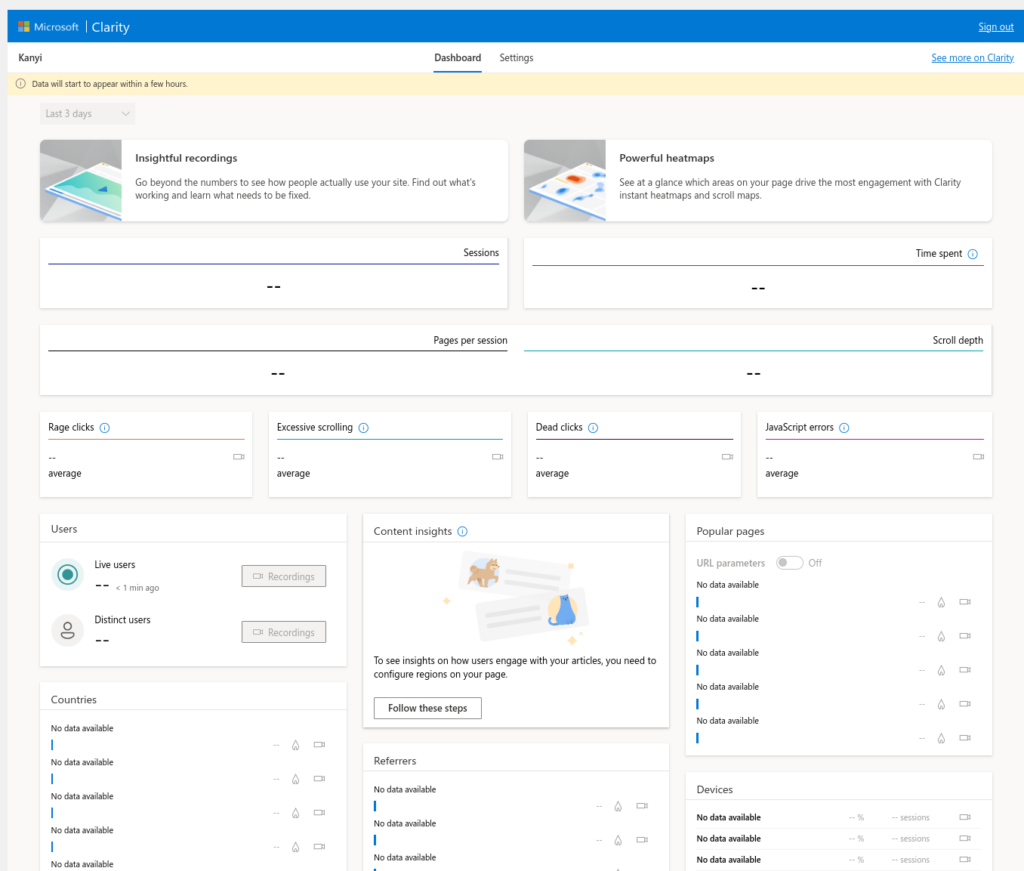
With Microsoft Clarity seamlessly integrated into your WordPress site, you’ll have access to a treasure trove of user behavior data. It’s not just about gathering data; it’s about using it to enhance your website continuously.
- Identify Pain Points: Review session replays and heatmaps to pinpoint areas where users face difficulties or drop off. Address these issues to improve user satisfaction.
- Optimize Content Placement: Use heatmaps to determine the most engaging content areas. Place your most important content and calls to action strategically.
- Enhance Navigation: Analyze user behavior to improve site navigation. Are users struggling to find specific pages or features? Make adjustments accordingly.
- A/B Testing: Experiment with different layouts, content, and calls to action based on user behavior insights, and use A/B testing to determine which changes perform better.
In conclusion, Microsoft Clarity is a developer’s ally in creating websites that not only look fantastic but also provide top-notch user experiences. By understanding user behavior through session replays, heatmaps, and tracking, you can make informed decisions to continually improve your website. Setting it up is a breeze, and the benefits it offers are well worth the effort.